How to configure your email forwarding rules
Prerequisite: make sure that your DNS records are correctly set at your DNS host.
To see the correct records, please login to the Client Area, and select MX Records and Setup Instructions from the left hand navigation bar. The required MX and SPF records will be displayed.
Once you have created/updated the records at your DNS host, it can take up to 24 hours for the records to propagate, however in most cases it is usually only 10 to 30 minutes for this to occur.
You can verify your settings via https://mxtoolbox.com . Enter your domain, and click MX Lookup. The result of your lookup should be like the screenshot below.

Log in to your dashboard using the following URL: https://emailforwardmx.com/clientarea.php. Click on the registered domain name for which you want to configure the email forwarding rules. You can find your domain name under the “Your Active Products/Services” section.

On the next page, you can see the status of the requested service. Click on “Email Forwarders” to configure your email forwarding rules.

Reach out to us if you need help with the configuration!

Add forwarder
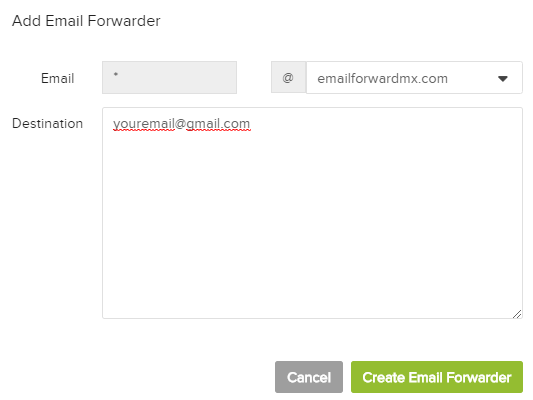
A Pop-up will appear when you click on the “Add forwarder” button. You may add 1 or more destination email addresses.
One destination

Multiple destinations should be separated by a comma - ie [email protected],[email protected]
Add Catch-All
When you click “Add Catch-All”, you may enter the email address that will be used. All emails sent to yourdomain.com will be forwarded to your destination email. Mind the spam!